|
Utilizing the High Roller
BoothPoint includes a valuable safeguard system that will validate premium transactions from your high spending customers.
The automatic ‘High Roller’ feature can be activated so that when your customers spend over a specified value they will be required to sign an authorisation document that contains their identification and authorisation to safeguard their payment against disputed bank cancellations.
No need to manually fill out time consuming photocopied spread sheets.
|
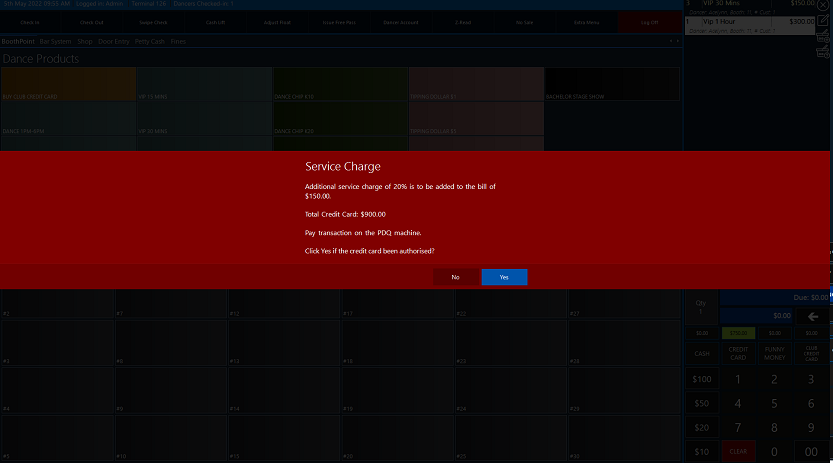
Stage 1 - Credit Card Charge
Once a transaction has been entered and the payment method of Credit Card has been selected, and is over the high roller setting the first message to appear is regarding the built-in credit card charge.
This message shows what is the credit card value, then the additional credit card followed by the total amount due from the card.
The credit card should then be put through the PDQ machine, once that has been authorized press the Yes button. If the card wasn't authorized select No.
|
 |
| |
|
|
Stage 2 - Signature Strip Message
A standard built-in message appears to let the user know to Check the signature on the back of the card.
At BoothPoint we try to ensure all bases are covered, letting your users know what should be done and when.
|

|
| |
|
|
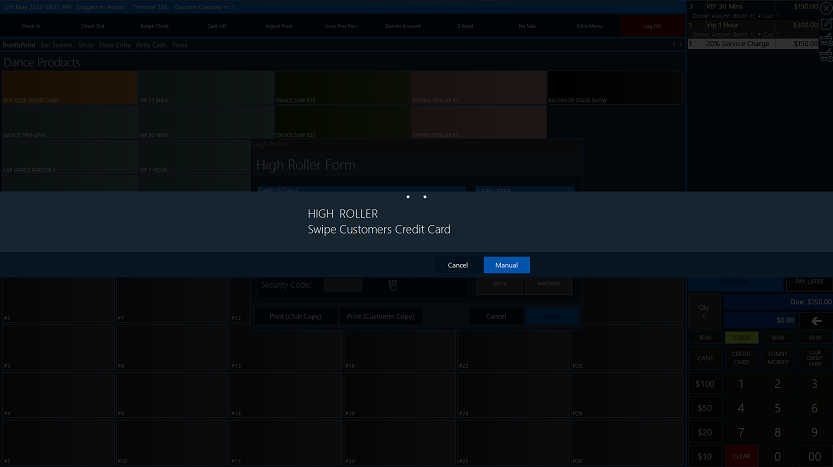
Stage 3 - Swipe Customer's Card
The next process in the procedure is to swipe the customer's credit card using the attached magnetic swipe card reader.
If in the instance the card can not be read or a swipe card reader isn't attached then press the Manual button. This will allow the Name, Card No and Expiry Date to be manually typed in.
Note if the machine is a touch screen, the standard Windows keyboard will appear).
|
|
| |
|
|
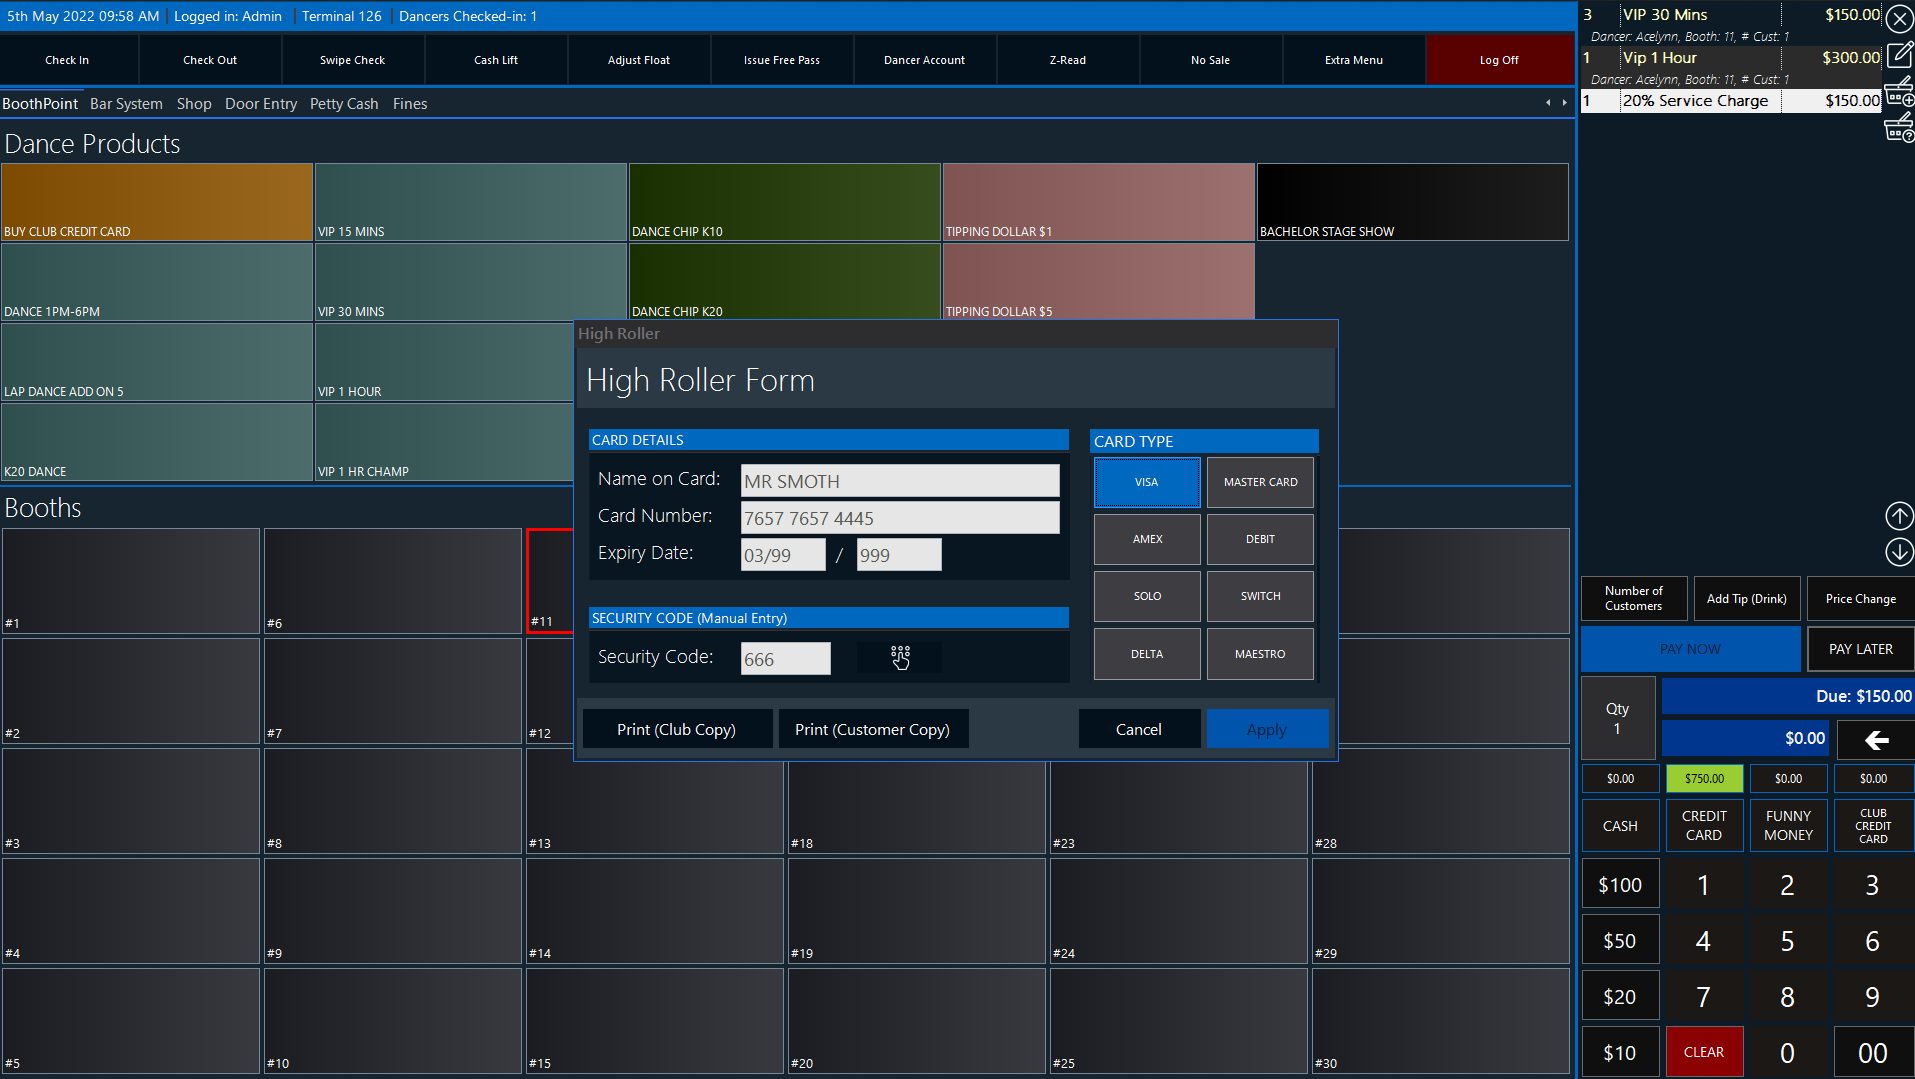
Stage 4 - Fill in High Roller Form
The high roller form will be shown with the card information already loaded into the relevant fields.
You must then:
-
Enter the last 3 digits on the back of the card
(press the SET button to touch these numbers in)
-
Select the card type: Visa, Master Card, Amex, Debit, Solo, Switch, Delta or Maestro. Simply click or tap the card button.
-
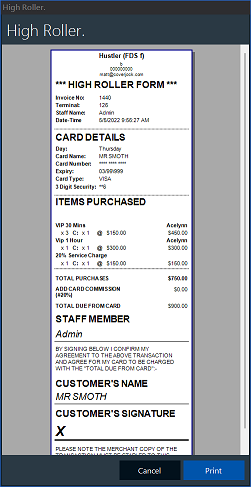
Click or tap the Print (Club Copy)
(this is only required if the option Must Print Club Receipt is ticked.)
-
Click or tap the Print (Customer Copy)
(this is only required if the option Must Print Customer Receipt is ticked.)
-
Press the Apply button.
|
|
| |
|
|
Stage 5 - Additional I.D.
Additional I.D. can be required by the club. This is in the form of:
- Picture of the customer at the time of the transaction or to scan driving license.
(this only comes into effect if an integrated camera is attached to the terminal.)
- Other paper I.D. using a flatbed scanner.
(this only comes into effect if a flatbed is attached to the terminal.)
Note this additional I.D. is emailed directly to HQ on the automatic high roller form.
|
 |
|